
Net10 CloudMail Calendar on MacOS
IMPORTANT! These instructions are only for those customers utilizing Net10’s CloudMail premium e-mail service.
These instructions were written for MacOS Big Sur. Systems running older operating systems may require slight modifications to these instructions.
- Click the Apple menu and select System Preferences.
- Click on Internet Accounts.

- Click the + symbol at the lower left corner.

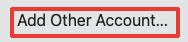
- Click Add Other Account…
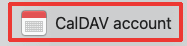
- Click CalDav account.
- Select Account Type: Manual. Enter your email address in the User Name box and your email password in the Password box. Enter cloudmail.net10.net in the Server Address box.
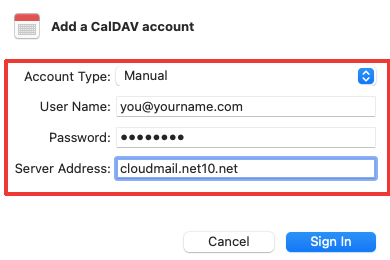
- Click Sign In.
- When the account is added, you can give it a name other than “Net10” by changing the Description field.
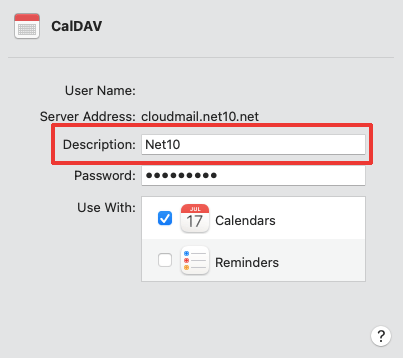
- Your Net10 CloudMail calendar will now appear in the Mac Calendar application.