
Net10 CloudMail Setup Instructions (iOS 14.x)
IMPORTANT! These instructions are only for those customers utilizing Net10’s CloudMail premium e-mail service. If you are not using Net10 CloudMail, please see our standard email setup instructions for iOS 14.x.
Net10 CloudMail is only supported on devices running iOS 14.x and newer. Please make sure your device is updated to the latest iOS before proceeding.
- Tap Settings from the home screen.
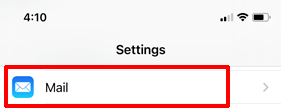
- Tap Mail.
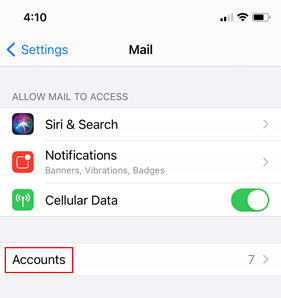
- Tap Accounts.
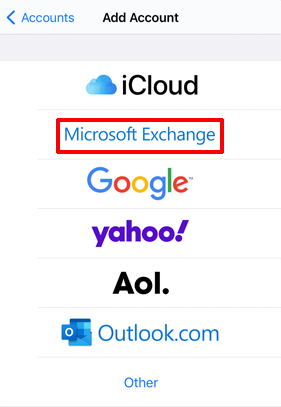
- Tap Add Account.

- Tap Microsoft Exchange.
- Enter your email address in the Email box and a descriptive name for your account in the Description box.
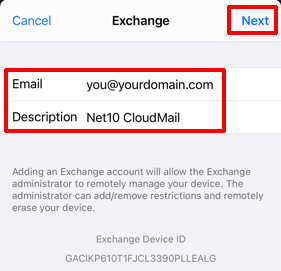
- Tap Next.
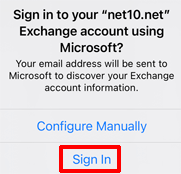
- Tap Sign In.
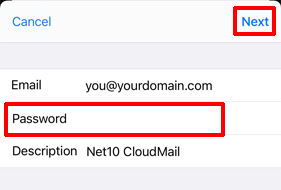
- Enter your account password in the Password dialog and tap Next.
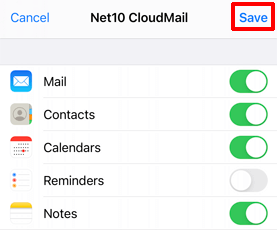
- If the setup process is successful, you should see a selection for items you wish to synchronize with your CloudMail account. Typically the default settings are acceptable for most users.
- If you wish to make any adjustments, do so and then tap Save.
- Your account is now configured and accessible from within the Mail, Calendar, etc. apps on your device.