
Email Quarantine Access and Management
Accessing Quarantine and Releasing Messages
To access your quarantined email messages any time, follow these steps:
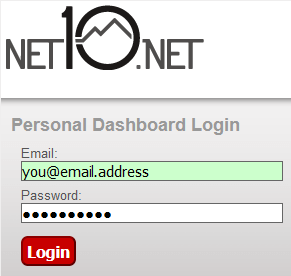
- Log into the Personal Dashboard by going to https://emailsecurity.net10.net in your web browser.
- Log in with your email address and email password.
- Once you are logged into the Personal Dashboard, your quarantine will be displayed on the Messages tab. You may want to click on the 2 Weeks or Month buttons at the top of the message list to search & display a larger period of time.
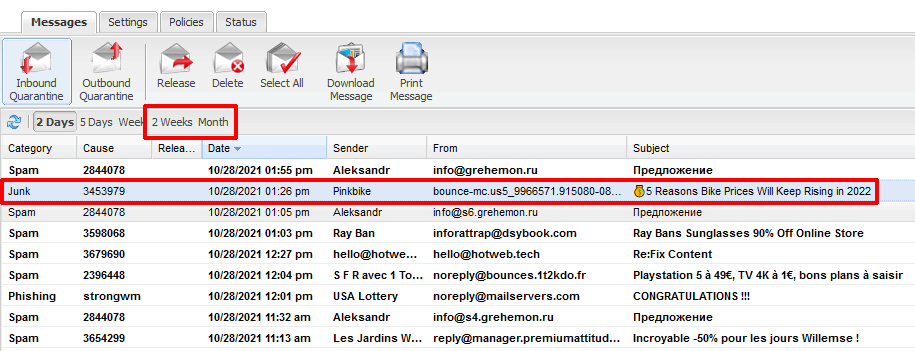
- The Messages list can be sorted by clicking on any of the headers. You can also search by sender, subject, etc. by typing into the search box at the top right of the message list.
- Once you find the message you want to deliver to your Inbox, click on it so that it is highlighted. Then click on the Release button.
- The Release Confirmation dialog box will appear. Check the Submit a copy of this message for review of its classification box – this will cause GoSecure’s security team to review the message and evaluate possible alterations to Spam rules to minimize false positives.
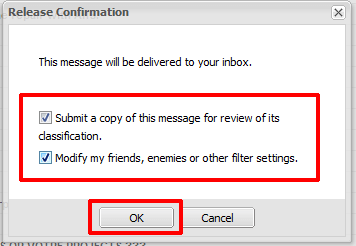
- If you anticipate receiving other messages from this sender, also check the Modify my friends, enemies or other filter settings box.
- Click OK.
- If you selected the Modify my friends… option, you will be presented with a list to Select senders to add to your Friends List. Click on the sender’s email address to highlight it, then click Next and then click Finish.
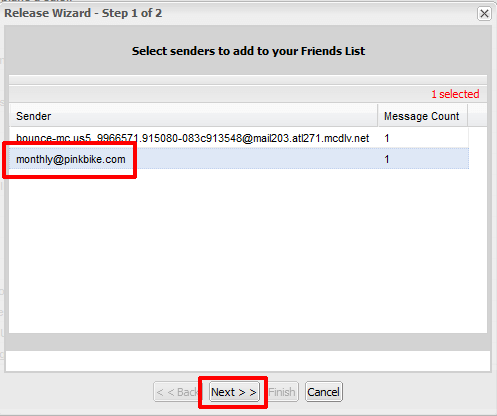
- The message will be delivered to your Inbox and the sender will be added to your Friends list for delivery directly to the Inbox in the future.
Updating Friends & Enemies Lists
- Log into the Personal Dashboard by going to https://emailsecurity.net10.net in your web browser.
- Log in with your email address and email password.
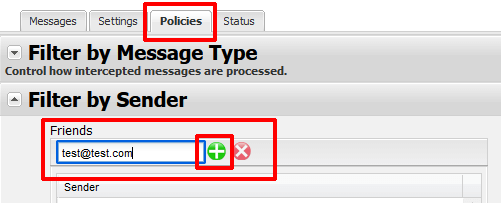
- Once you are logged into the Personal Dashboard, click on the Policies tab at the top of the screen.
- In the Filter by Sender section, you can add email addresses (e.g. example@example.com) or entire domains (e.g. example.com) by typing the desired value into the box under Friends. Click on the green + icon when you are done and the sender will be added to your Friends list.
- The Enemies list works in the same fashion as the Friends list.