iPhone Email Update Instructions (iOS 14.x to 17.x)
iPhone General Email Settings
Incoming Server Settings
Account Type: IMAP
Incoming Server: m.net10.net
SSL: Enabled
Incoming Port: 993
Username: Your full email address
Outgoing Server Settings
Outgoing Server: m.net10.net
SSL: Enabled
Outgoing Port: 465
Username: Your full email address
These instructions are for updating your existing account on your iPhone or iPad to use our current settings. For adding your account to your iPhone or iPad for the first time, please see the email setup document.
- Tap Settings from the home screen.
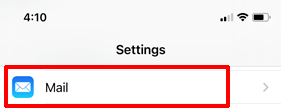
- Tap Mail. (On more recent versions of iOS, select Apps from the Settings screen and then select Mail).
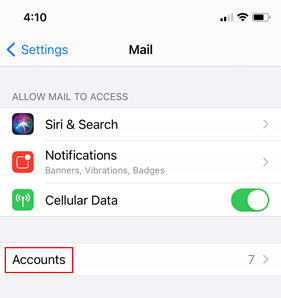
- Tap Accounts. (On more recent versions of iOS, this is labeled Mail Accounts).
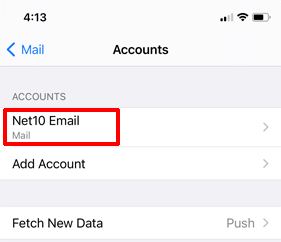
- Tap your Net10 email account on the list of accounts.
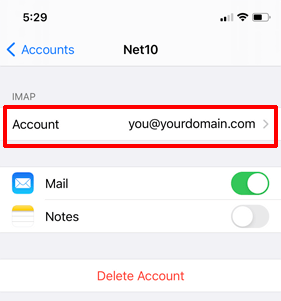
- Tap Account.
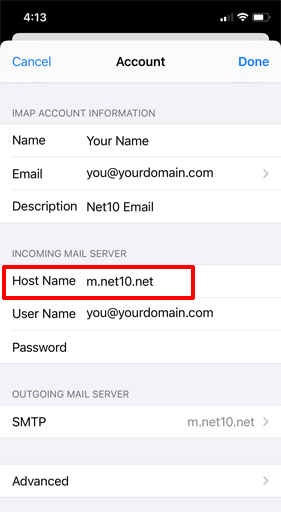
- Verify that the Host Name is set to m.net10.net and that User Name is your full email address.
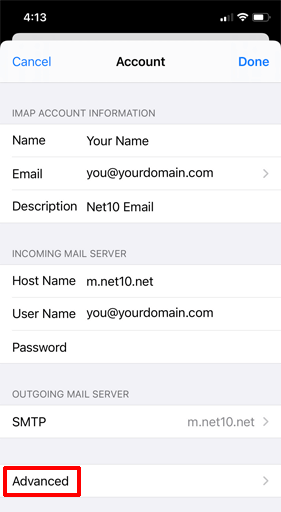
- Tap on Advanced.
- Make sure that the Use SSL option is Enabled and that the Server Port is set to 993.
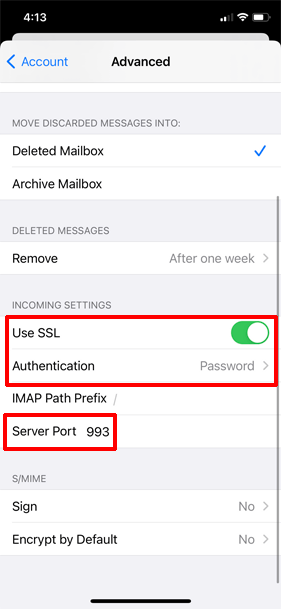
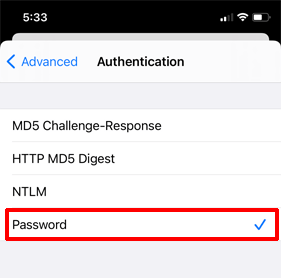
- Tap Authentication.
- Even if Password is already selected, tap it again and then click Advanced at the top left corner to return to the previous screen.
- Tap Account to return to the Account page.
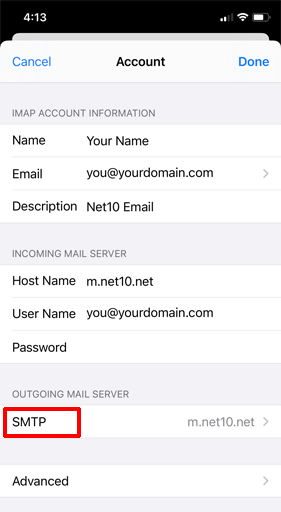
- Tap SMTP.
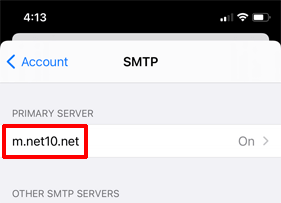
- Tap the SMTP server under Primary Server:
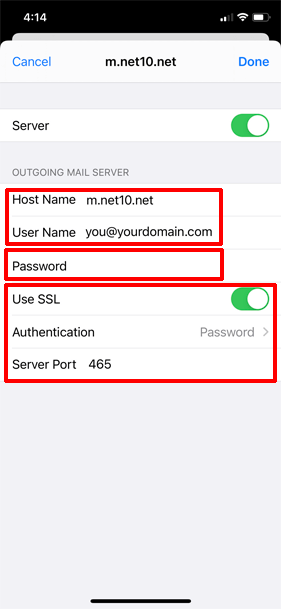
- Verify that Host Name is m.net10.net and that User Name is your full email address. Enter your email password in the Password box (this is the same password you use for incoming mail). Use SSL should be enabled, and Server Port should be 465 (587 is also acceptable.) Tap Authentication, tap Password, and then tap Back. Tap Done.
- Tap < Account at the top left.
- Tap Done.
- Return to the Mail app to access your account.
