
iPhone/iPad Email Setup Instructions (iOS 26.x)
iPhone/iPad General Email Settings
Incoming Server Settings
Account Type: IMAP
Incoming Server: m.net10.net
SSL: Enabled
Incoming Port: 993
Username: Your full email address
Outgoing Server Settings
Outgoing Server: m.net10.net
SSL: Enabled
Outgoing Port: 465
Username: Your full email address
These instructions are for adding your account to your iPhone or iPad. For updating settings on your existing account, please see the updating settings document.
- NOTE: As you work through the settings, please follow the documented steps carefully. Apple will often indicate fields as “Optional” that are not actually optional on our system.
- Tap Settings from the home screen.
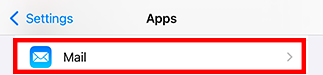
- Scroll all the way to the bottom. Tap Apps.

- Tap Mail.
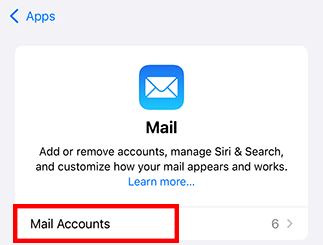
- Tap Mail Accounts.
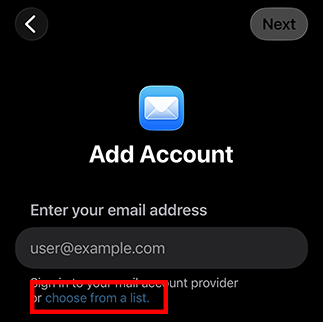
- Tap Add Account.

- Tap choose from a list underneath the email address box.
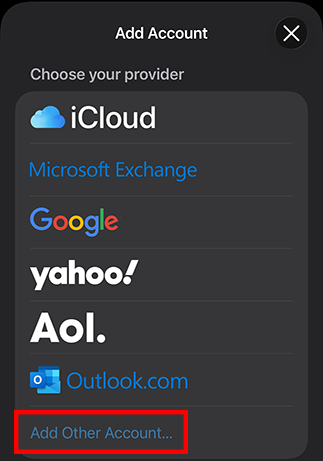
- Tap Add Other Account…
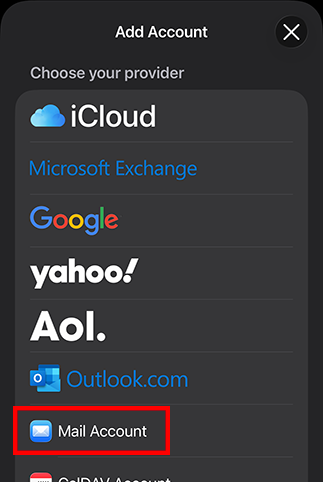
- Tap Mail Account.
- In the Name field, enter your name as you would like it to appear on outgoing messages.
- In the Email filed, enter your complete email address.
- In the Password field, enter your email password.
- In the Description field, enter a description for the account such as “Net10 Email.” This will help distinguish this account from others if you have multiple mail accounts on your device.
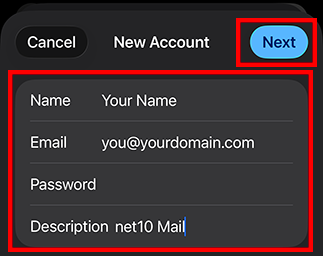
- Tap Next.
- On the next screen, you will need to verify account information as follows.
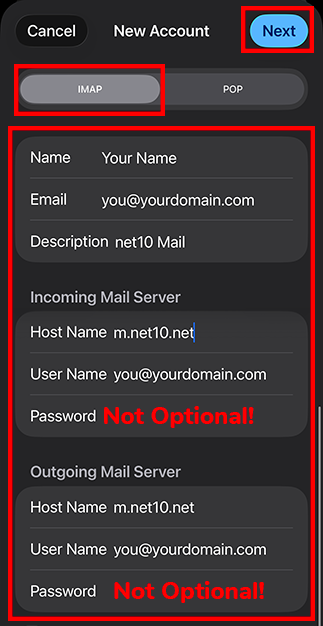
- Make sure IMAP is selected at the top of the screen. (While POP will work, it is not recommended for mobile devices as it will remove email messages from the mail server leaving them inaccessible to your other device(s)).
- In the Incoming Mail Server section, enter m.net10.net in the Host Name box. In the User Name box, enter your full email address. Enter your email password in the Password box.
- Repeat the same steps in the Outgoing Mail Server section. Note that these settings are not Optional as indicated by the default text shown by Apple! When finished, tap Next.
- The screen may display Verifying with a spinning wheel for as long as a few minutes. This is normal and will not occur after the initial setup.
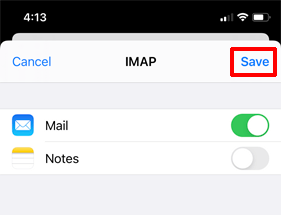
- On the next screen, make sure Mail is enabled and then tap Save.
- After tapping Save, you will be returned to the account list.
- You may now return to the Mail app and access your account.