
Net10 CloudMail Setup Instructions (Outlook)
IMPORTANT! These instructions are only for those customers utilizing Net10’s CloudMail premium e-mail service. If you are not using Net10 CloudMail, please see our standard email setup instructions for Outlook 2016+.
Net10 CloudMail is only supported on Outlook 2013 and newer. Outlook 2016/2019/365 are highly recommended.
- If Outlook is running, close it completely.
- Click on the Start Menu and type Control Panel into the search box. Click on Control Panel to open it.
- At the top right corner of the Control Panel window, type Mail.
- Click on Mail (Microsoft Outlook).

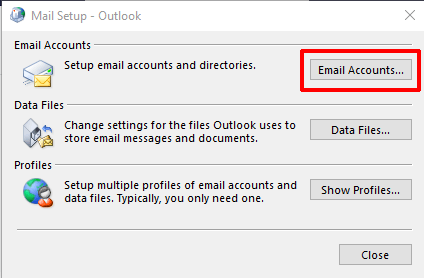
- Click on Email Accounts.
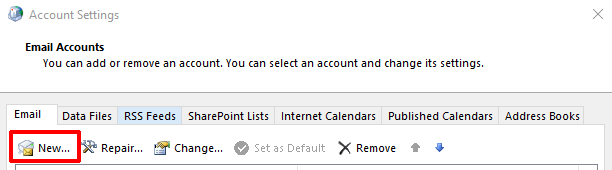
- Click on New.
- Click on Manual setup or additional server types.
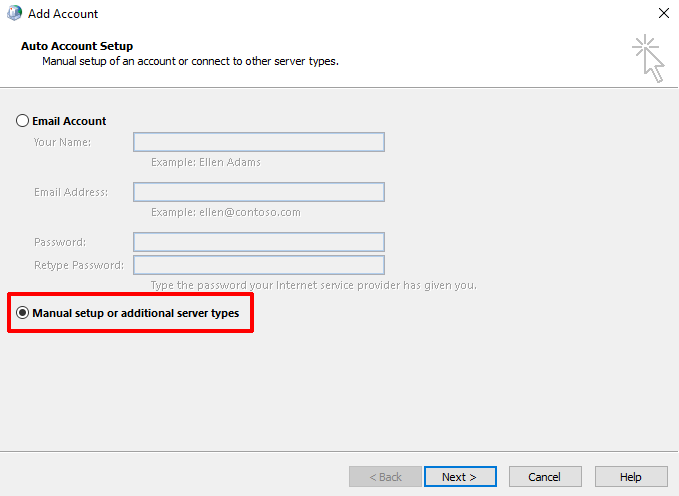
- Click Next.
- Click on Exchange ActiveSync.
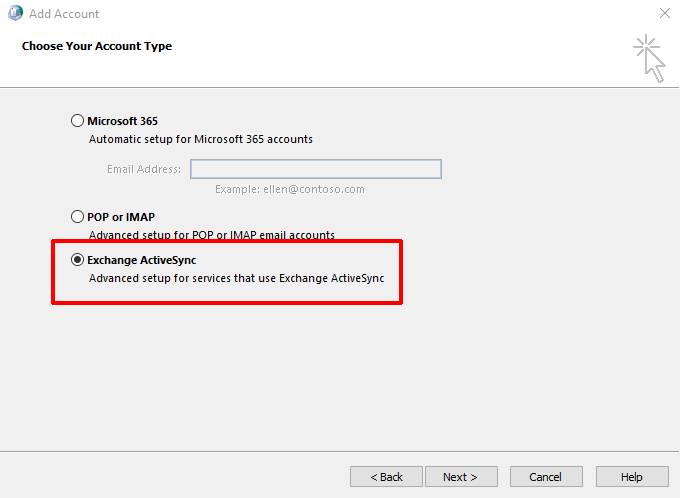
- Click Next.
- Fill in the boxes as follows:
Your Name: Your full name as you would like it to appear on your outgoing email messages.
Email Address: Your email address
Mail Server: cloudmail.net10.net
User Name: Your email address
Password: Your email password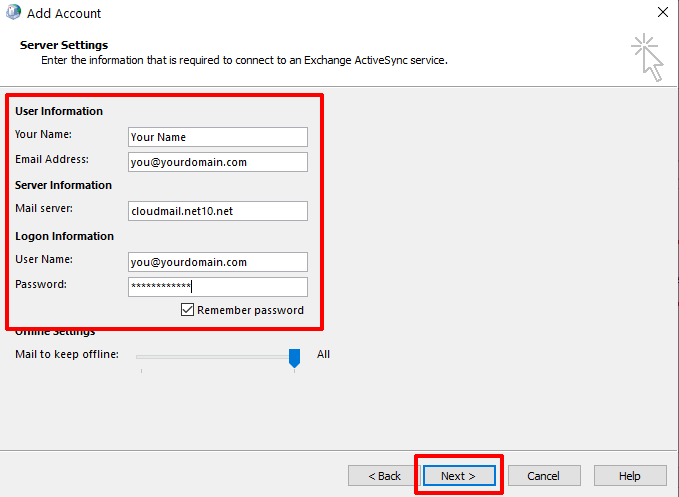
- Click Next.
- Verify that “Log onto Exchange ActiveSync…” reports a status of “Completed”
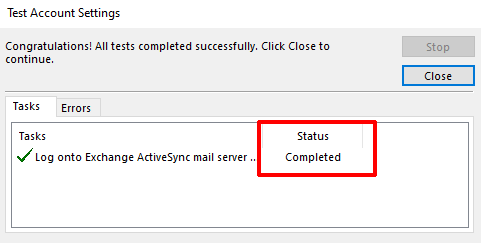
- Click Close.
- Click Finish.
- Close the Account Settings window and the Mail control panel.
- Launch Outlook and access your account.